Step by step
The instructions below complement the video guide and explain how to take a sample and submit records using the RiverDip app. There is an onboard user guide also built into the app should you need assistance while sampling out in the field.


Before undertaking any sampling, download the RiverDip app. You will need to create or sign into an account to be able to submit results.
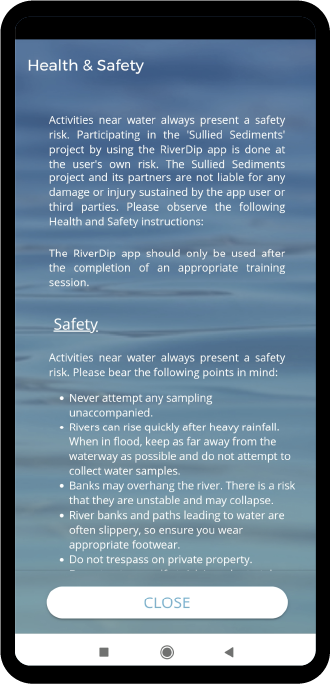
Please remember that safety comes first; you must read our Health and Safety Statement before carrying out any sampling.
Practise using the RiverDip app at home before going on your first sampling trip. To submit a record all fields must be filled in, including location (GPS coordinates) and water body name. The notes section can be left blank.
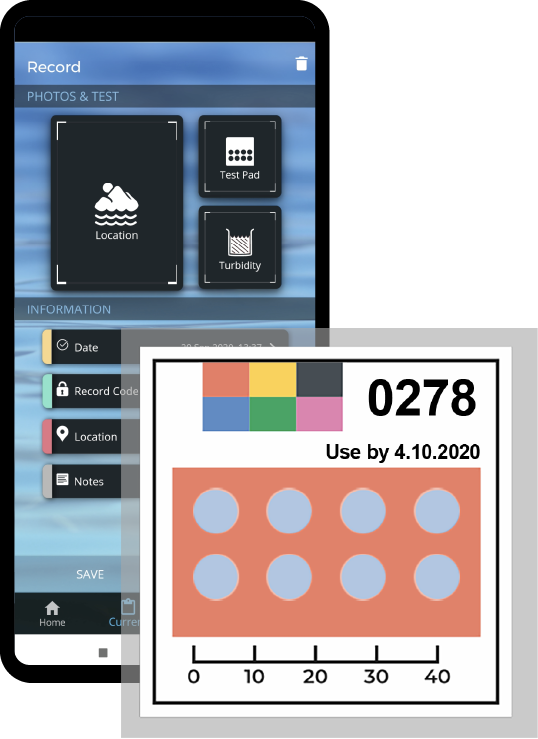

When you arrive at the sampling location, use the app to upload a photo of your location by either taking a picture or selecting one from the gallery on your device. Tap save when you are satisfied with the selected photo.
Take a water sample from the water body you are surveying. If you are unable to collect water safely from the river bank, for example without over-extending yourself or entering the water, consider making a milk bottle sampler such as the one shown here to assist you:


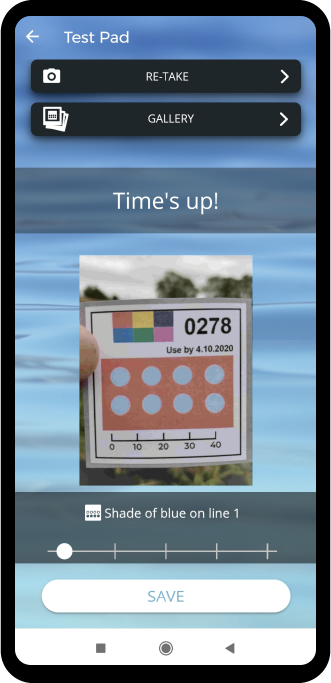
Gently bend the PAD to open up the perforations on the back. This will allow the water to enter the PAD. Place the PAD on the surface of your water sample and start the timer as prompted.
After the three minutes are up, take a photo of the PAD and then select the shade of blue on the app that best matches the blueness of the circles on the PAD. Tap ‘Save’ to upload the PAD photo to the app.
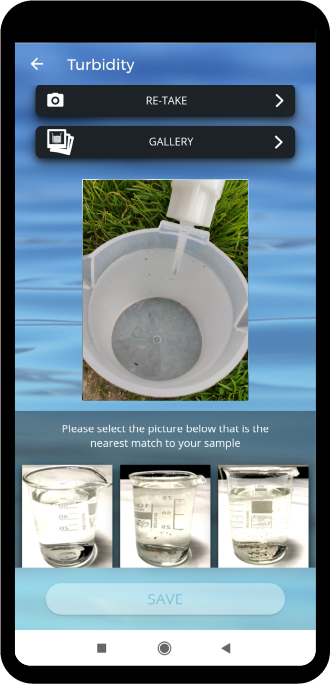
Turbidity refers to the cloudiness of a water sample. Please swill the sample until all the material in the sample is suspended, then immediately take or select a photo of the water sample. Once you have done this, you will be presented with five images, each one depicting different levels of cloudiness. Choose the one that best resembles the appearance of your sample and tap ‘Save’.
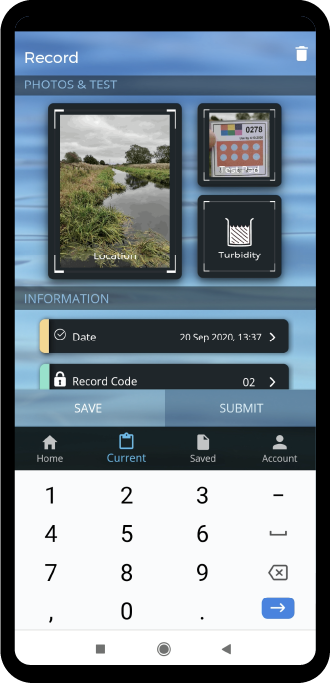
Under Information, the date and time should automatically be filled in by the app. However, you can add them manually by tapping ‘Date’ and using the on-screen time and date settings to record when your test was completed.
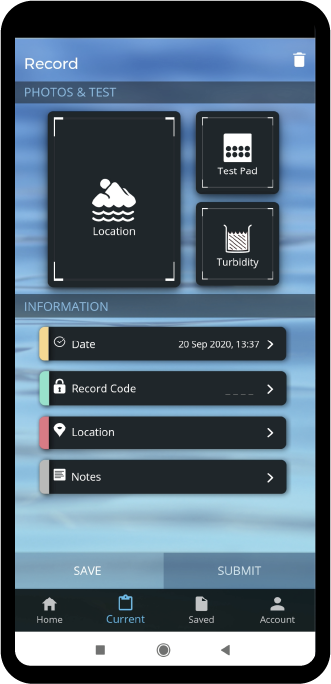
Tap ‘Record Code’ and use the keypad to enter the four-digit reference number printed on the PAD.
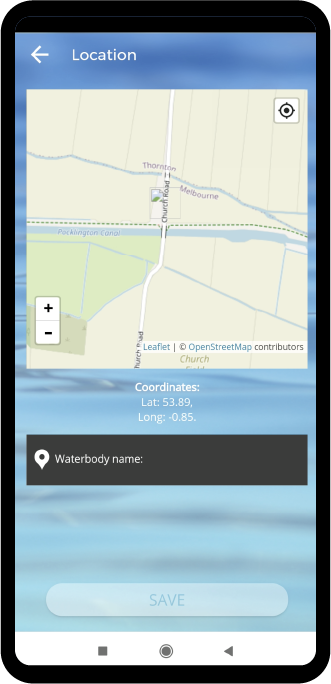
Tap ‘Location’ and ‘OK’ to allow your device to find your location automatically. The app should display a map and your coordinates. This could take a few minutes depending on your mobile signal. To manually select your location, move the map marker around by tapping on the map to where you would like to place it. Below the coordinates enter the water body name that you are sampling. Tap ‘Save’.
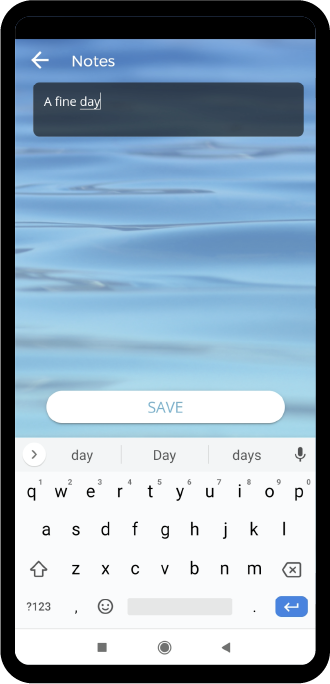
The ‘Notes’ section is optional and can be used to send additional information about your sample, e.g. weather, problems encountered or suggestions. If you have additional information to share, tap ‘Notes’, enter your comments and tap ‘Save’.
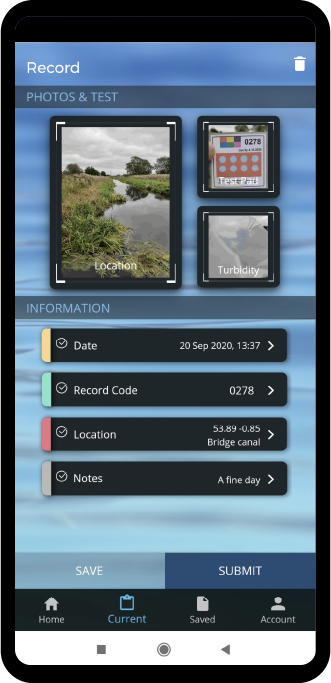
If you have completed all of the above, you are now ready to submit your record. Please ensure that all the data entered is correct and then tap ‘Submit’. You will need to be logged-in to submit a record; if you are not logged-in, you will be led to the log-in page. If you would like to save your record and submit it later tap ‘Save’. Your record will be saved in the ‘Pending’ tab.
Register your interest in volunteering
The RiverDip programme is currently on hold and we are not able to accept new volunteer registrations at the present time. We would, however, like to hear from volunteer groups who are interested in getting involved in sampling in the spring and summer. If you lead such a group or belong to one, please complete the registration below. Thank you.


Created by Clay10 Creative

